
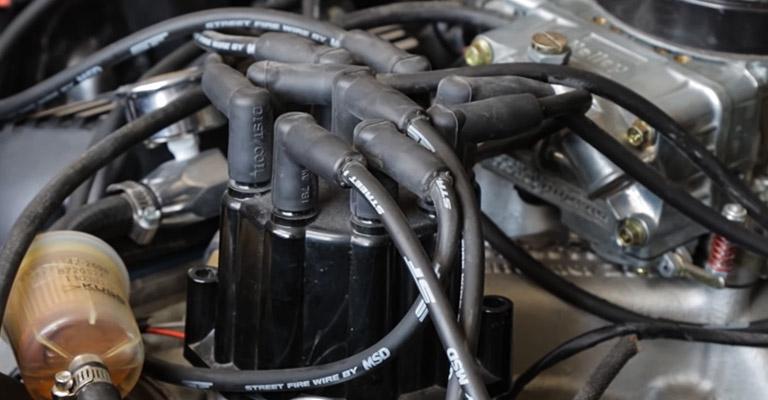
While most modern cars these days run on an electronic, computer-controlled distributor for its ignition system, these are still thousands of models with a mechanical distributor. So, for these vehicles, the distributor is a key component that passes voltage from the ignition coil to the cylinder.
A damaged distributor can cause a lot of problems including engine failure. Fortunately for most models, replacing the distributor rotor & aligning it properly can be done by hand without any assistance.
Contents
Why Aligning Your Distributor is Important?
The distributor controls your engine ignition timing. The oil pump is also driven using an intermediate shaft using the distributor. Things need to be properly aligned for everything to function right.
It doesn’t matter whether you are installing a new distributor or replacing your old worn out distributor if the distributor is not properly installed, it may cause dysfunction of your engine. Your vehicle engine might not start at all. The engine would also be skipping a cylinder in the order.
Steps on How to Align Distributor Rotor
Here is a step to step guide in properly replacing your distributor & aligning it in order for the engine to run smoothly.
Step 1: Understanding your Engines Firing Order
The first thing you need to know is the firing order of your vehicle’s engine. For those who are not familiar with the term, Firing Order is the sequence in which the combustion of the engine in the cylinder takes place. This also means knowing in which direction your distributor turns.
Step 2: Locating Cylinder Number One
When you know the firing order of your engine, you will be able to locate the cylinder number 1 of your engine. Remove all the spark plugs before going to the next step.
Step 3: Timing Mark Fixing
After removing the spark plugs, you have to turn the vehicle’s engine by hand. You need to do this carefully because the timing mark on the balancer should be at zero degrees or at the top dead center. When you see the exact moment, you have to put your thumb inside the spark plug hole.
If you have your timing right as the balancer is in zero degrees phase, you should feel the pressure of the compression stroke. If you don’t feel so, then you have to do it all over again. Otherwise, it will mean the distributor would be 180 degrees out of phase.
Step 4: Installing the New Distributor
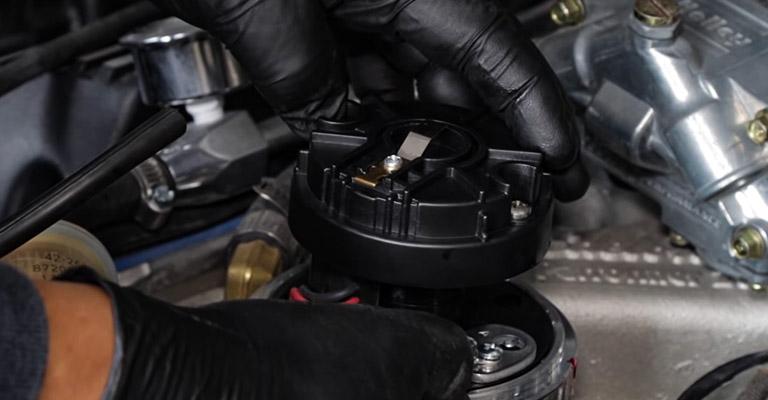
For the new distributor, you have to decide on which terminal of the cap will be your cylinder number one. The rotor should also be aligned properly with this position. Then place the distributor with appropriate gear to avoid any sort of wear. Lubricants also come in handy for a new distributor.
Step 5: Aligning the Distributor Rotor
The gear of the distributor is helical, so the rotator would want to turn as you insert the distributor engine. To avoid this scenario, you have to position the rotor ahead of the number one terminal in the rotation order.
This position should be halfway between the previous terminal & the derided terminal. When you lower the distributor into the engine, it will rotate against the cam gear to end up in that exact desired position of yours.
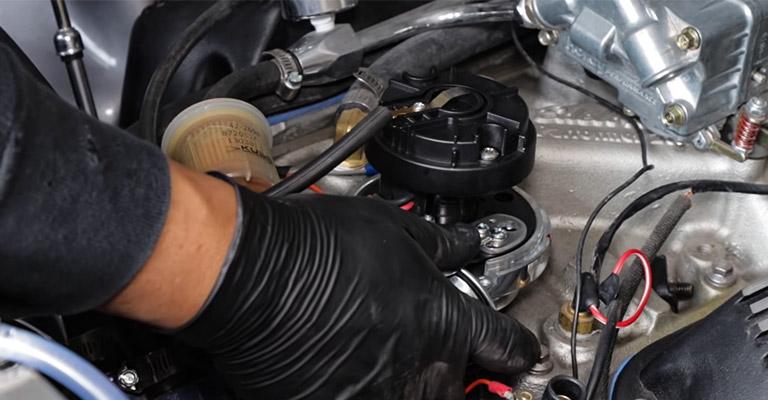
Step 6: Aligning with the Oil Pump
If you are new to this sort of task, then you wouldn’t probably get the distributor rotor aligned on your first few tries. This is because the bottom of the distributor is not aligned with the oil pump drive shaft. You can use a long screwdriver to slightly rotate the shaft so that it aligns with the drive of the distributor.
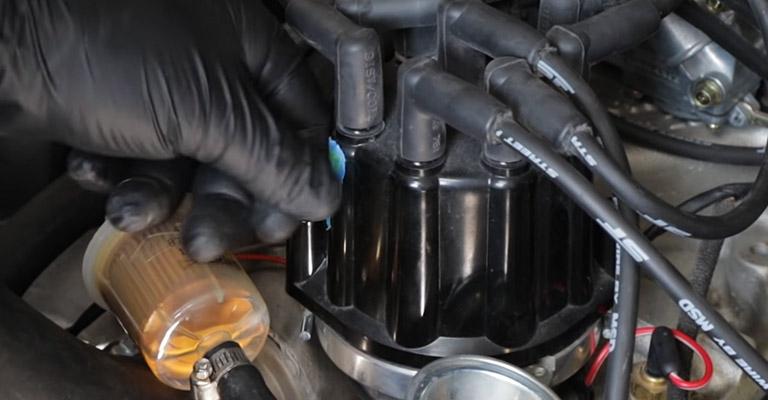
Step 7: Setting Base Timing
Once you have aligned the distributor properly, you can connect the spark plug wires according to your engine’s firing order & distributor rotation. Then you need to leave the vacuum advance disconnected & loosen the distributor clamp a bit so that you can adjust it. Crank the engine!
You will require a timing light to advance the timing before the top dead center position. Once the engine fires, you can set your desired base time. Once you set the base time, reconnect the vacuum advance.
What if you are Replacing your Distributor?
If you are to only replace your worn out old distributor, then the job is pretty easy for you. You just need to mark the position of the distributor relative to the block & the rotor of the distributor. This will give a very close result in achieving the perfect alignment the previous rotor of the distributor had. Then just repeat step 7 of the previous section to set the base time.
Conclusion
Going through the process & reviewing every step should be enough for you to align the new distributor properly. If you are not sure of what you are doing or whether you have completed the task properly, you can always call for the helping hand of a professional to fix it.
Also read-Best Brake Caliper Paint | Ornamenting your Precious Ride