
Brake pads are an important safety feature on your Chevrolet Silverado, and it is important to change them regularly. Changing the brake pads will not only ensure a safe ride but also improve your vehicle’s braking performance.
There are three types of brake pads- standard, hybrid, and ceramic- and each requires different steps for installation.
The type of brakes you have installed on your car will determine which step-by-step guide applies to changing the pad(s).
Follow the manufacturer’s instructions carefully to avoid any potential damage or problems with your vehicle during this process.
Make sure that you have all of the necessary tools before beginning; including a Phillips screwdriver, wrench set (or torque wrench), jack stands/jumper cables if needed, and clean rags or cloth towels for cleanup afterward.
Contents
1996 Chevy Silverado Brake Pads
Brake pads on your 1996 Chevy Silverado should be replaced every 6 months or 10,000 miles, whichever comes first. Checking the brake pads is easy and can be done without taking the truck to a mechanic.
Use a straight edge like a ruler to check for wear on each pad in both directions from the rotor to the ground If one or more of the pads show significant wear, it’s time for replacement and you’ll need to take your truck into a mechanic for this service.
Don’t forget that all four corners of each rotor must have equal wear before discarding any brake pad – otherwise there’s an increased risk of braking problems in wet or icy conditions.
Always replace brake pads with new OEM (Original Equipment Manufacturer) parts – these are designed specifically for your vehicle and will provide better performance over time
Required Tools to Change Brake Pads on 1996 Chevy Silverado
If you’re looking to change your brake pads on a 1996 Chevy Silverado, you’ll need the following tools:
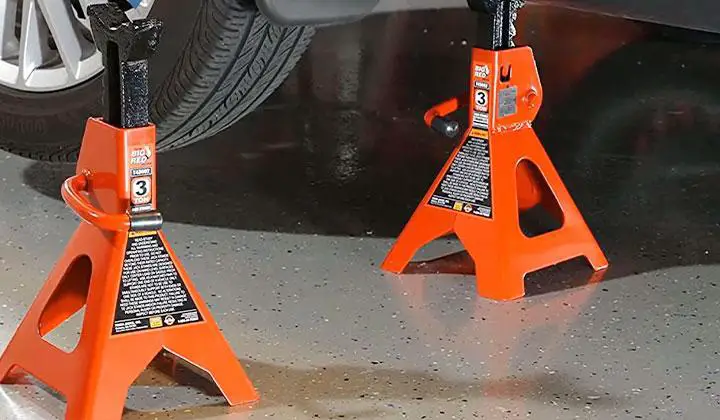
Jack
Jack the truck up and remove the wheel well panels. This will give you better access to the brake pads and rotors.
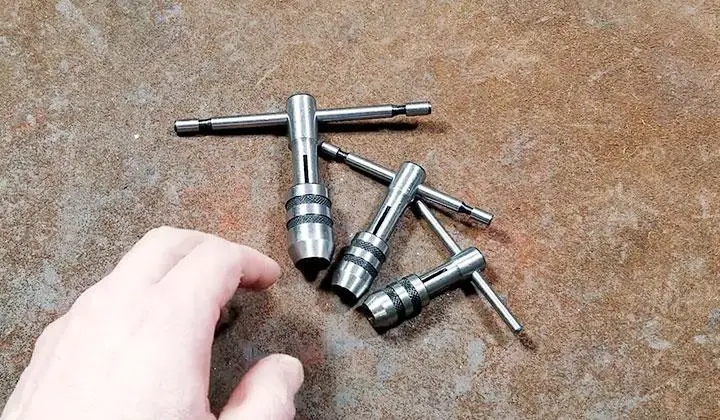
Taps and wrenches
The tools you will need to change brake pads on a 1996 Chevy Silverado include taps and wrenches.
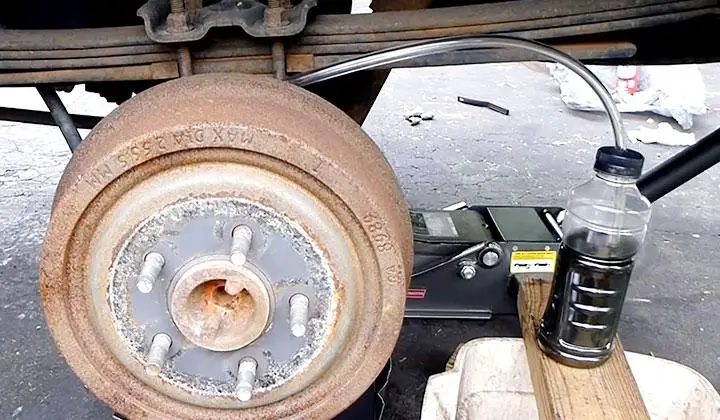
You will also need brake fluid (or DOT 4 brake fluid). Make sure to have wheel chocks or a sturdy object so that you can safely stop the vehicle while you work.
Brake fluid (or DOT 4 brake fluid)
Brake fluid is necessary for proper braking performance and must be replaced regularly, typically every 3 months or 6,000 miles, whichever comes first. Always use the correct type of brake fluid for your car’s make/model/year combination.
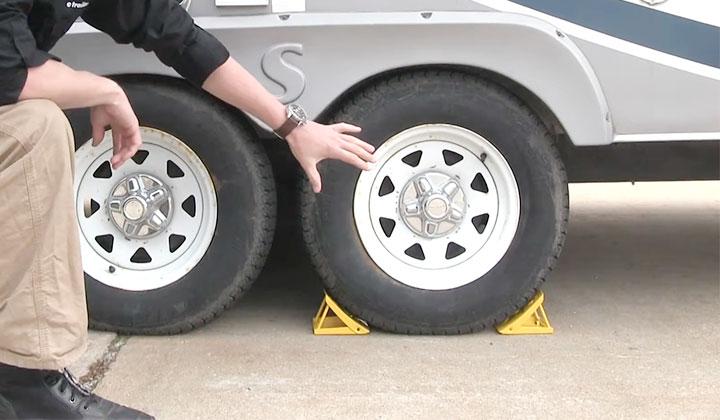
Wheel chocks or a sturdy object
To prevent the car from moving while you are working on it, place wheel chocks around the front or rear wheels.
Alternatively, if space is limited, use a strong object like a tree to block off part of the driveway so that the car cannot move during repairs.
Safety glasses
When working with any kind of fluids—brake fluid included—use safety glasses in order to protect your eyes from potential injury caused by flying debris.

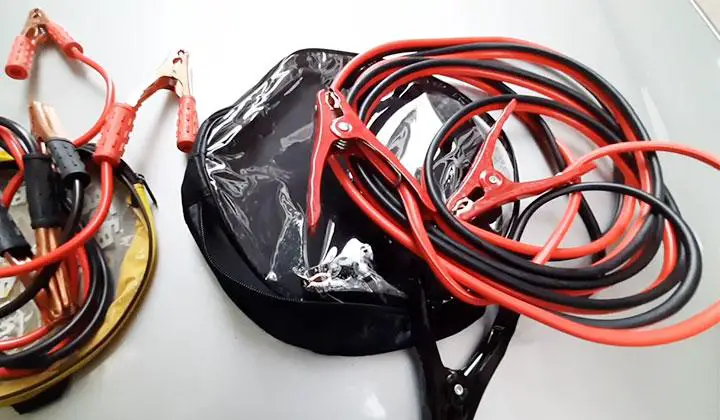
Jumper cables
If your brakes are worn or suspect, use jumper cables to connect one cable to each of the front wheels (the same as when replacing a tire).
Make sure that your batteries are fresh and properly connected before starting work; if something goes wrong, at least you’ll be able to safely stop the truck without damaging it further.
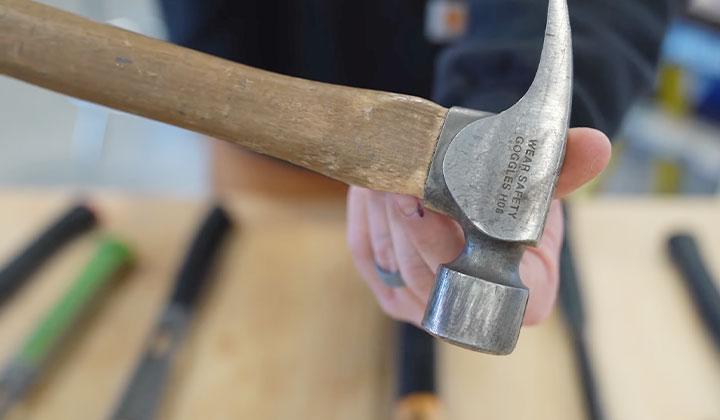
Hammer
Hammer out any rivets or screws that may be holding on the brake caliper bracket or rotor backing plate.
Be careful not to hit any other parts of the vehicle while doing this – damage here can lead to even more expensive repairs down the road.
How To Change Brake Pads on 1996 Chevy Silverado
If you’re experiencing a hard time braking in your 1996 Chevy Silverado, it may be time to replace the pads. This guide will show you how to do this step by step.
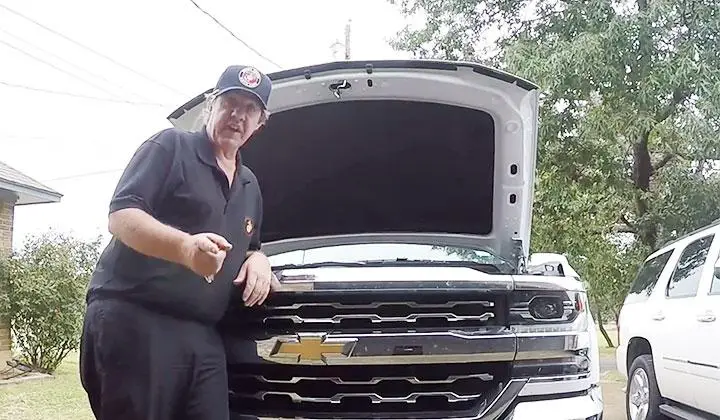
Open the hood
The first step is opening up your Chevy Silverado’s hood. This will allow you to get access to all of the necessary components and tools needed for this repair.
Remove the bolts
Once you have opened the hood, remove each of the bolts that are holding it in place. You should also note which bolt attaches to each side of the bumper cover – these will need to be removed later on as well.
Lift up the bumper cover and remove it
Next, lift up both sides of your bumper cover and pull it off completely from your truck’s bodywork. Make sure to keep any documentation or parts that came with your original brake pads handy.
Disconnect two hoses
Now that we have removed our old brakes, it’s time to disconnect two hoses from under them: one connects front-to-rear (the master cylinder hose) and another goes from back-to-front (the slave cylinder hose).
These can usually be found at either end of their respective lines near where they meet inside certain brackets on either side of your truck cab (pictured below).
If you cannot find them easily, then chances are they may not exist anymore due to age or wear and tear over time. Once disconnected, simply hold onto one end while pulling outwards on the other until they come free – don’t lose them.
Push down on each brake pad individually
Finally, we need to push down firmly onto each individual brake pad using a pneumatic impact tool – ours is pictured below left in yellow.
Be careful not to damage any other parts during this process; if anything does happen, please take pictures or video so you can document what happened along with steps taken in order to resolve said issue.
After pushing down firmly onto every pad once more, refit both ends of both houses before replacing all four bolts back into place around the wheel well area, ensuring everything lines up correctly before tightening gently by hand only….and done.
Also Read – How To Change Brake Pads on 2004 Honda Accord
FAQs
How Much Is a Brake Job on a Chevy Silverado?
A brake job on a Chevy Silverado will typically cost around $400-$600.
How Do I Know My Brake Pads Size?
The brake pads size can be determined by measuring the distance from the center of the wheel to the edge of the brake pad.
How Often Should You Replace Your Brake Pad?
The frequency of replacing your brake pads depends on how often you use your brakes and how hard you brake. However, it should be between 10,000 to 20,000 miles.
How To Change Brembo Brake Pads
1. Park the car in a safe location
2. Remove the wheel
3. Disconnect the brake lines
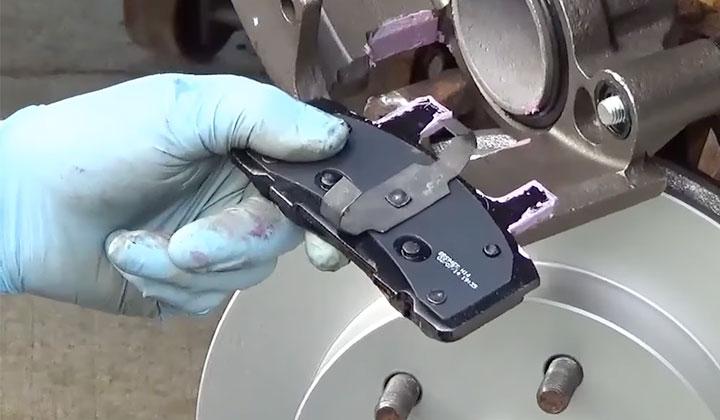
4. Remove the old brake pads
6. Install new brake pads
To Recap
If your brake pads are worn, it is time to change them. Here is a guide on how to do it: Park your car in a safe place and turn off the engine. Remove the wheel covers and jack up the vehicle.
Lift out both front wheels. Check for screws securing brake pad brackets to frame of truck underneath each wheel well (four per side).
If they’re missing or loose, remove the bracket by unscrewing the bolt at the bottom with a 7 mm socket wrench and pulling the bracket away from the wheel well until it pops off (use caution; there may be metal shards inside).
Discard old pad(s), carefully scrape any rust or corrosion off new ones with a wire brush, then reinstall using new screw and nut—mark position before replacing bracket so you don’t forget. Then replace the wheel well cover.