
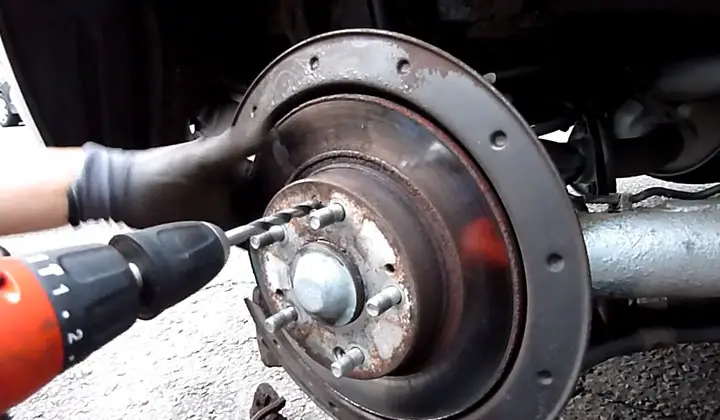
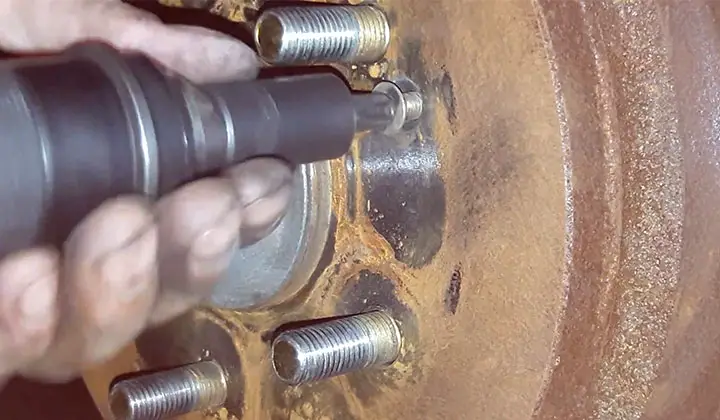
If you’re having trouble removing stripped rotor screws, try using a drill bit that is slightly smaller than the screw head. Apply pressure to the screwdriver while turning it counterclockwise to break the grip of the screw on the rotor.
Be careful not to over-tighten and strip the threads in your rotors. Use a nut driver or wrench to remove stubborn screws by hand if necessary. Clean up any debris left behind with solvent or hot water before reassembling your bike wheels properly.
The most common way is to use a special Allen wrench that fits the screw head perfectly. You can also try using pliers or a vise grip if it’s easier for you to hold the screw in place while you turn it with your hand or an Allen key.
Contents
- 1 How To Remove Stripped Rotor Screws
- 1.1 Locate the stripped screws
- 1.2 Remove the front grille
- 1.3 Take off the steering wheel cover & Grille
- 1.4 Disconnect the brake trim switch
- 1.5 Remove the three screws
- 1.6 Use a screwdriver or impact wrench
- 1.7 Disconnect the brake hose and reservoir hoses
- 1.8 Inspect condition of screws & bolts
- 1.9 Install new rotors & bolts
- 2 Are Necessary Screws on Brake Rotors?
- 3 Once the car rolls off the line, they are completely useless
- 4 FAQs
- 5 To Recap
How To Remove Stripped Rotor Screws
If your car has a stripped rotor screw, you’ll need to replace the entire rotor. This guide will walk you through how to remove these screws and replace them with new ones.
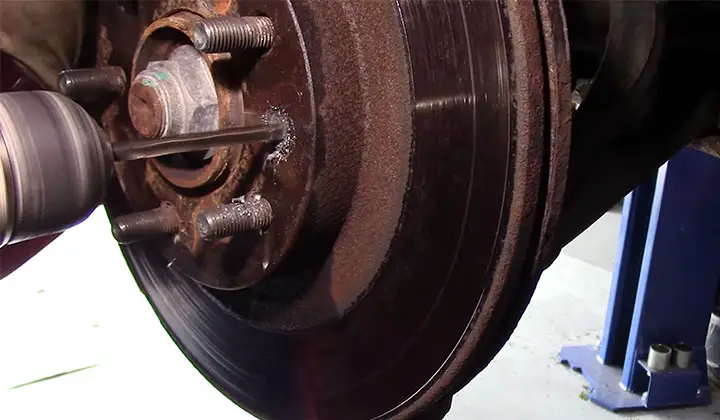
Locate the stripped screws
The rotor screws can be removed in a number of ways, but one of the simplest is to use a screwdriver to remove them from the hub. Be careful not to strip or damage any of the other parts while you are doing this.
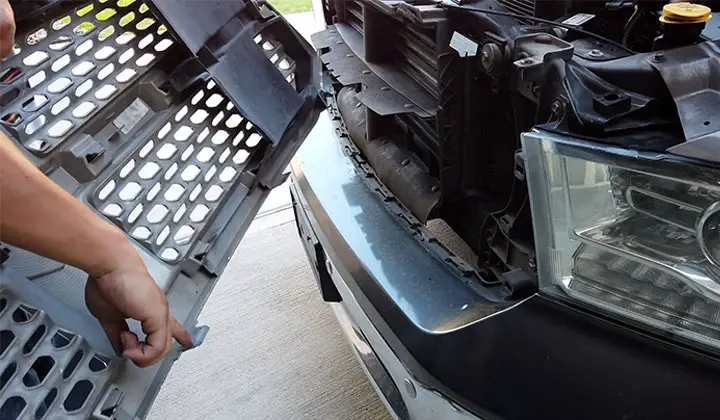
Remove the front grille
To get to the rotor screws, first, take off the front grille by removing three screws located near each air intake on either side.
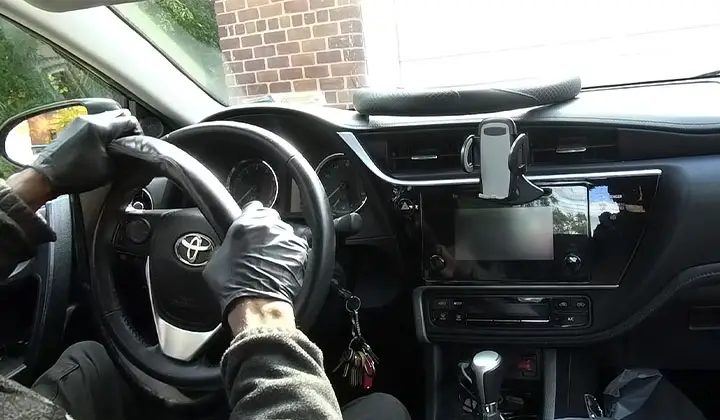
Take off the steering wheel cover & Grille
The first step is to remove the steering wheel cover and grille. This will give you access to the screws that hold in the rotor.
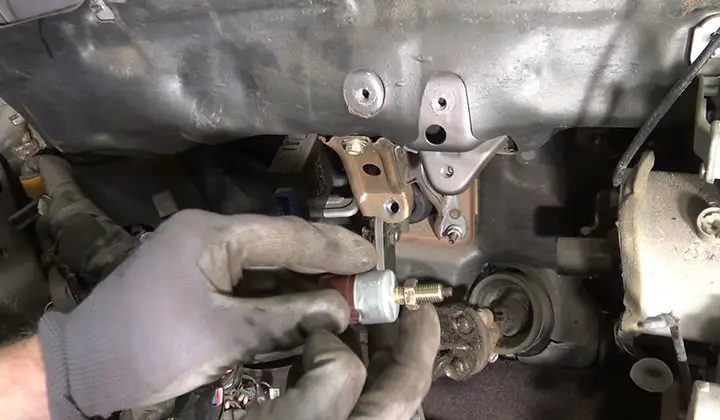
Disconnect the brake trim switch
Next, disconnect and remove the brake trim switch by lifting it up and outwards with your hands. This will allow you to access and remove all four rotor screw terminals individually.
Remove the three screws
After detaching all four terminal wires from their respective switches, simply lift them off of their mounts and set them aside for later disposal/recycling purposes (if necessary).
Finally, take off the steering wheel cover by gently pulling down on one corner at a time until it pops free from its mountings.
Use a screwdriver or impact wrench
If you have access to an impact wrench, use it to remove the screws in order to free up the rotor. If you don’t have an impact wrench available, use a screwdriver instead.
Disconnect the brake hose and reservoir hoses
Next, disconnect both of the brake hose and reservoir hoses from the wheel hub assembly so that they can be replaced without interference from debris or water damage on either side of your car.
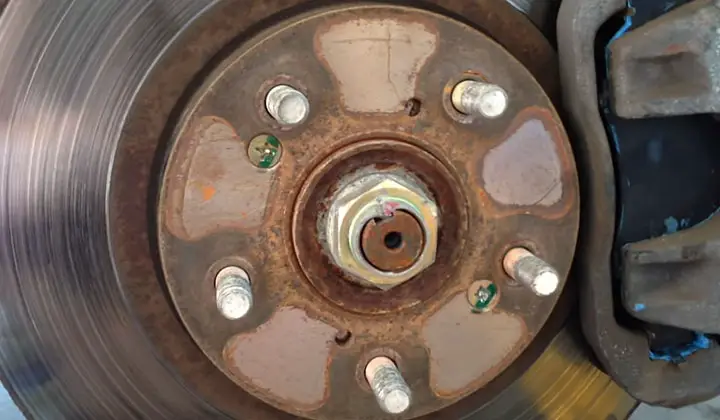
Inspect condition of screws & bolts
Once everything is apart, it’s important to inspect both the screws and bolts for signs of wear or damage before putting everything back together properly. If there is any sign of rust or corrosion, be sure to replace these parts as soon as possible.
Install new rotors & bolts
When your replacement rotors arrive, use a torque wrench (or equivalent) to install them onto their designated locations on the rotor assembly using new screws and bolts-making sure not to over tighten anything. Also, check brake pad sensors if they need replacement.
Finally reinstall your steering wheel cover & grille and enjoy smooth sailing once again.
Are Necessary Screws on Brake Rotors?
Most car owners will probably remove the screws on their brake rotor at some point. This is because these screws can become stripped and easily go missing, which could lead to a lot of problems down the road.
Once the car rolls off the line, they are completely useless
The screws on brake rotors are there to help keep your car from rolling away while it’s being built.
However, once the car is running and has started moving, these screws become completely useless. This means that you will need to replace them if you ever have to remove your rotor for any reason.
They Are Made of Metal or Plastic
The screws on a brake rotor are made of either metal or plastic. The metal versions tend to rust over time, but they can also be damaged by impact and collision. The plastic versions tend to last longer but may not withstand as much abuse as the metal version does.
You Will Need a Socket Tool in Order to Remove Them
In order to remove a screw on a brake rotor, you will need an appropriate socket tool such as an adjustable wrench or ratchet set.
Make sure that you have the correct size tool for your particular screw before attempting removal so that it doesn’t damage your vehicle in any way
FAQs
Why Do Manufacturers Use Torx Screws?
Torx screws are used in manufacturing because they make it possible to tighten screws without having to use a screwdriver that can slip off the screw head.
What Is a Star Head Screwdriver Called?
A star head screwdriver is typically called a star screwdriver.
What Is the Cocktail Screwdriver?
The cocktail screwdriver is a small, slender tool that is used to mix drinks. It has a long, thin handle and a Phillips head on one end.
What Does a Robertson Screwdriver Look Like?
The Robertson screwdriver is a type of screwdriver with a shorter handle than most. It is designed for use in tight spaces.
To Recap
If your rotor screw has stripped, you can remove it by using a standard wrench or an adjustable wrench. You will need to loosen the screws in a counter-clockwise direction and then pull out the rotor screw.
Replace the rotor screw with a new one and tighten the screws in a clockwise direction to secure it into place. Be sure to replace all of the screws on your rotors as they may strip over time.
If none of these solutions work, there are always replacements available from your local hardware store.
Be sure to read through our helpful how-to guide on removing stripped screws before trying any of these techniques for yourself.